


// Pon & Chune] LOVE ME Eye & Body Texture
Description
〇商品紹介〇
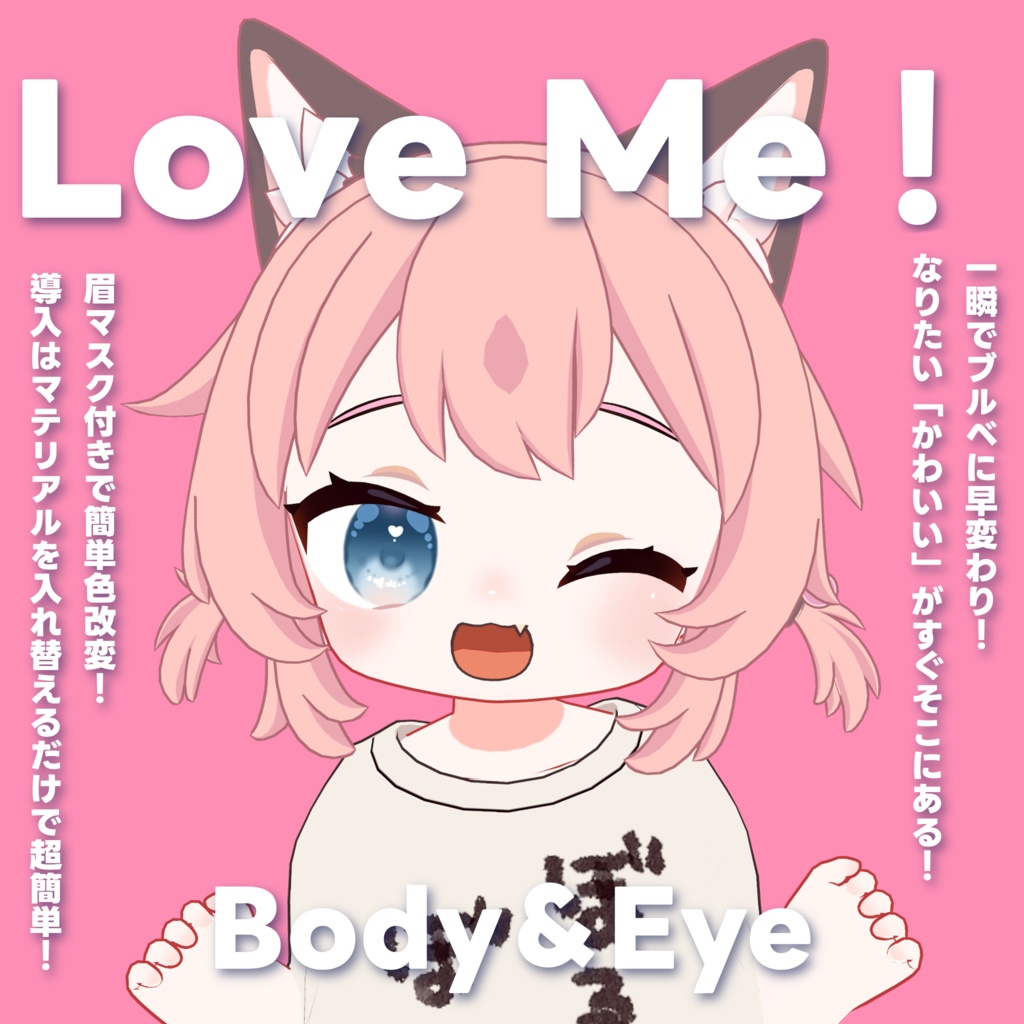
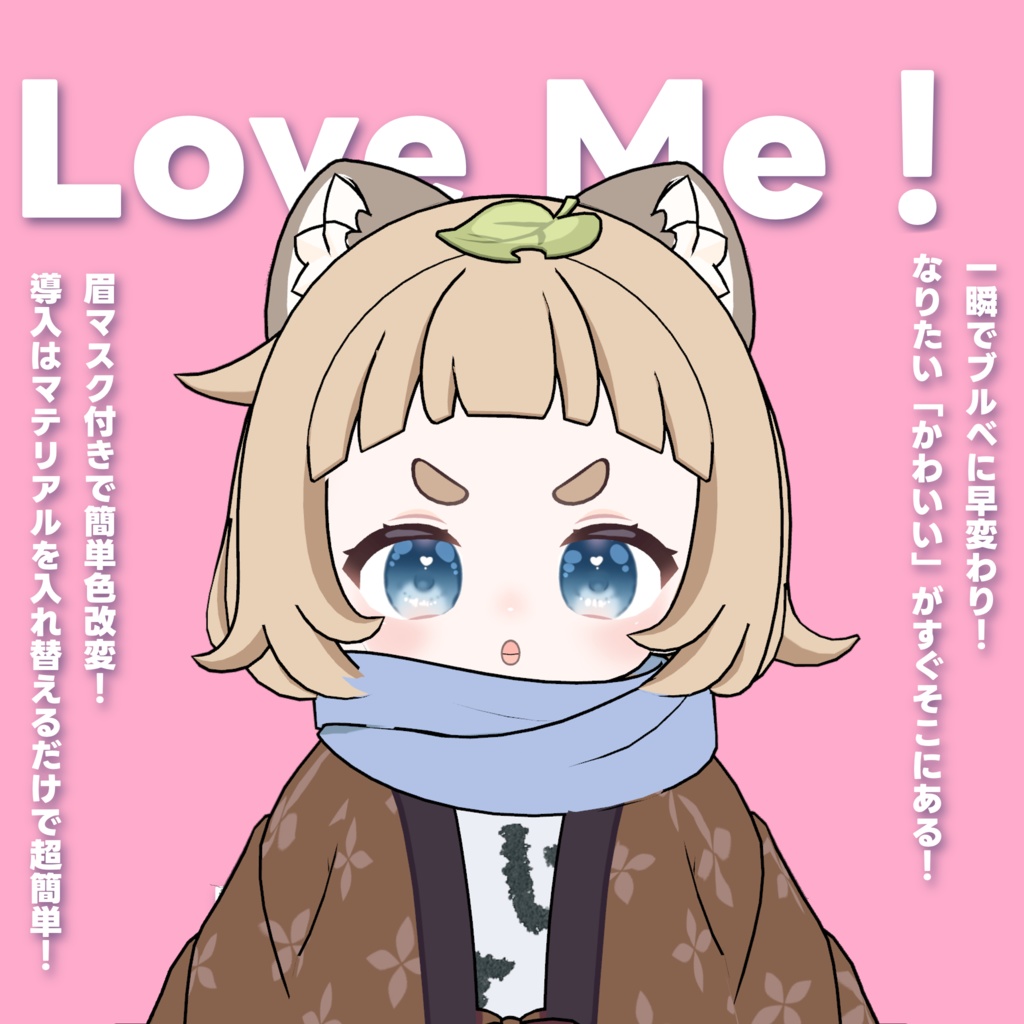
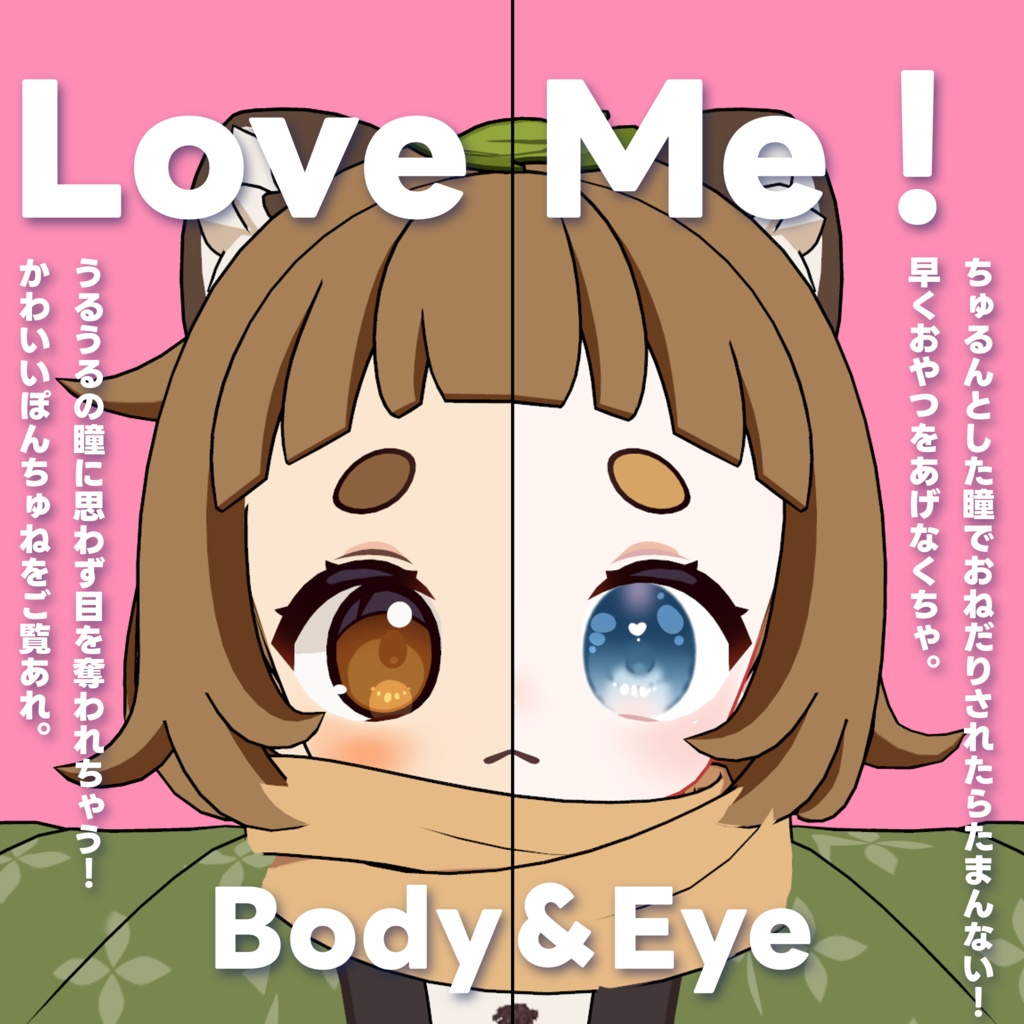
「ぽん‐Pon」ちゃんと「ちゅね‐Chune」のアイテクスチャとメイクのセットです。
https://booth.pm/ja/items/5335595
着用中のアバターは付属しておりませんので、ご注意ください。
-------------------------------
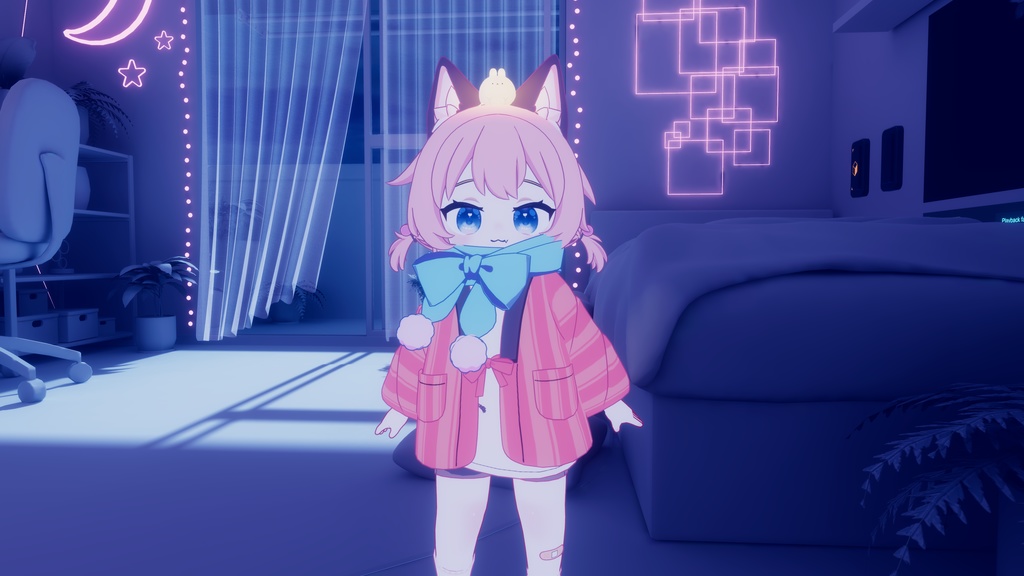
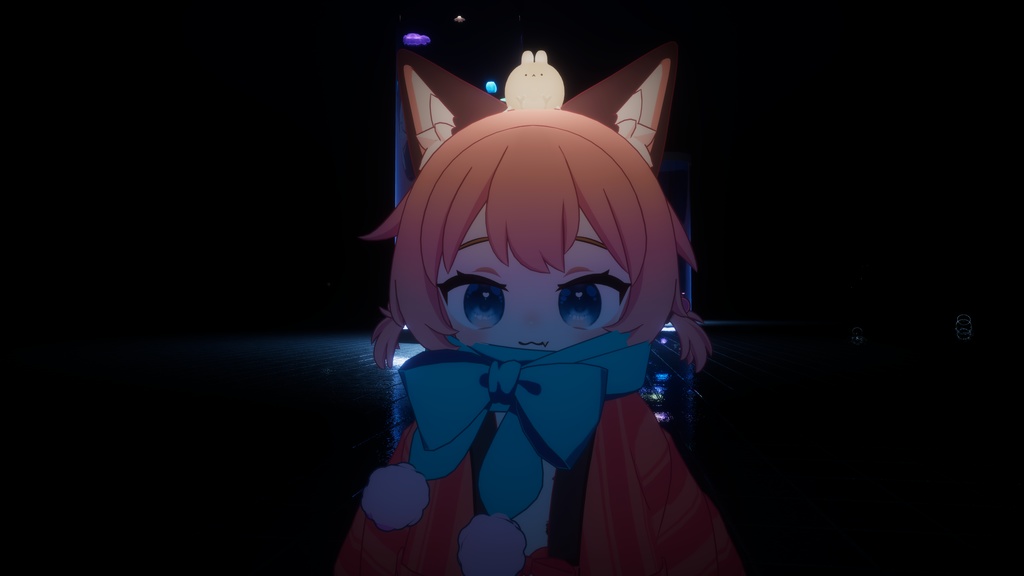
ブルべのピンクが似合う肌をイメージしました。
(1から描いています)
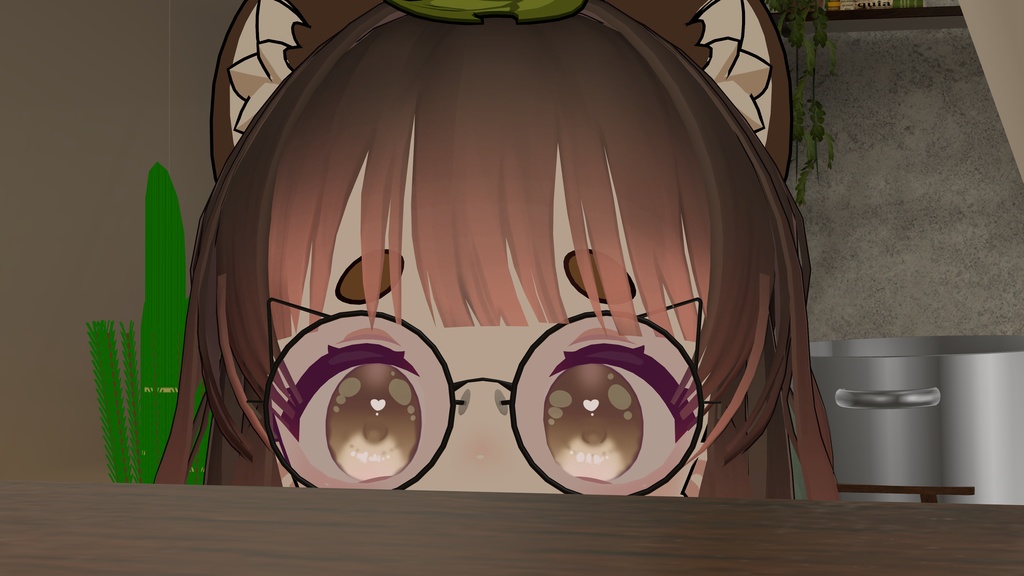
アイテクスチャはちゅるんとした透明感あるかわいらしいものをイメージして制作いたしました。
-------------------------------
※表情は瞳孔オフ推奨です。(←マテリアルを入れ替えるだけで簡単に瞳孔オフができます。なので表情をいじる必要はありません。)
〇商品内容〇
「Only Eye」
アイテクスチャ7種透過PNG・マスク7種・セットアップ済みマテリアル の入ったユニティパッケージ
「Full」
アイテクスチャ7種透過PNG・マスク7種・ボディテクスチャセットアップ済みマテリアル の入ったユニティパッケージ
「Full+Your Love!!」
「Full」の中身 + PSD
〇導入説明〇
①[Love me.unitypackage]を開き、「おちゃかなしょっぷ」>「pon chune」>[Love me]内の「PON LM」または「Chune LM」マテリアルをアバターの「Body」メッシュにある「tex1」マテリアルと入れ替える。
②お好みで「おちゃかなしょっぷ」>「pon chune」内の[Love me]>「EyeTexture」にあるお好きな色のアイテクスチャを先ほど導入したマテリアルのliltoonの「詳細設定」より「メインカラー2nd」に入れる。
※フルをご購入の際は「3rdカラー 」にボディテクスチャが含まれています。
③[mask]にあるお好きな色に対応したマスクをliltoonの「詳細設定」より「発光設定」に入れる。
◎追記「ぽん・ちゅね対応版」
元のテクスチャを変更するのみでは、VRC上に反映されないため、アニメーションを確認する必要があります。
①アバターのFXレイヤーを開く。
②「Kemonized」を選択する。
③オレンジ色の「Humanized」をクリックし、「アバター名_form_himanized」のアニメーションを編集する。
※もし難しい場合はデフォルトのマテリアルのセカンドカラーに入れてご利用ください。
迷ったときは↓
https://x.com/oshakanakaeru/status/1739990059217293401?s=20
〇お願い〇
購入前にプロフィールの利用規約を必ずお読みください。
ご質問等は購入後、購入したことが分かるアカウントからお問い合わせください。
--------------
〇상품소개 〇
'퐁-Pon'과 '츄네-Chune'의 아이 텍스처와 메이크업 세트입니다.
https://booth.pm/ja/items/5335595
착용 중인 아바타는 포함되어 있지 않으므로 주의하시기 바랍니다.
-------------------------------
블루베 핑크가 어울리는 피부를 이미지화했습니다.
(1부터 그리고 있습니다)
아이텍스처는 맑고 투명한 귀여운 것을 이미지로 제작하였습니다.
-------------------------------
※표정은 동공 제거 권장합니다.(← 머티리얼을 교체하는 것만으로 간단히 동공 제거가 가능합니다.그러므로 표정을 만질 필요는 없습니다.)
〇상품내용 〇
「Only Eye」
아이텍스쳐 7종 투과 PNG, 마스크 7종, 셋업 완료 머티리얼이 들어간 유니티 패키지
「Full」
아이 텍스처 7종 투과 PNG·마스크 7종·바디 텍스처 셋업 완료 머티리얼이 들어간 유니티 패키지
「Full+Your Love!!」
'Full' 속살 + PSD
〇도입설명 〇
①[Love me.unity package]를 열고 "차가나 트림" > "pon chune" > [Love me] 내의 "PON LM" 또는 "Chune LM" 머티리얼을 아바타의 "Body" 메쉬에 있는 "tex1" 머티리얼과 교체한다.
②취향에 따라 「차가나 트림」>「pon chune」내의 [Love me]>「Eye Texture」에 있는 좋아하는 색의 아이 텍스쳐를 앞에서 도입한 머티리얼의 lilton의 「상세 설정」에서 「메인 컬러 2nd」에 넣는다.
※ 풀 구매 시에는 '3rd 컬러'에 바디 텍스처가 포함되어 있습니다.
③[mask]에 있는 원하는 색에 대응한 마스크를 liltoon의 「상세 설정」에서 「발광 설정」에 넣는다.
◎추기 '폰추네 대응판'
원래의 텍스처를 변경하는 것만으로는 VRC 상에 반영되지 않기 때문에 애니메이션을 확인해야 합니다.
①아바타의 FX 레이어를 연다.
②"Kemonized"를 선택한다.
③주황색 "Humanized"를 클릭하여 "아바타명_form_himanized" 애니메이션을 편집한다.
※만약 어려우신 경우 기본 머티리얼 세컨컬러에 넣어 이용해주세요.
헤맸을 때는↓
https://x.com/oshakanakaeru/status/1739990059217293401?s=20
〇부탁해 〇〇
구매 전 프로필 이용 약관을 꼭 읽어주세요.
질문 등은 구입 후, 구입했음을 알 수 있는 계정으로 문의해 주십시오.
--------------
0Product Introduction 0
This is a set of "Pon-Pon" and "Chune-Chune" eye textures and makeup.
https://booth.pm/ja/items/5335595
Please note that the avatars they are wearing are not included.
-------------------------------
I imagined the skin of a bourbeh pink-suitable skin.
(I drew this from scratch).
The eye texture was created with the image of a cute and transparent one.
-------------------------------
Pupils should be off for the facial expressions. (Pupils can be easily turned off by simply replacing the material. No need to change the expression.)
Contents of the product
Only Eye
Unity package with 7 transparent PNG eye textures, 7 masks, and pre-set up materials.
Full
Unity package with 7 transparent PNG eye textures, 7 masks, and pre-set body textures
Full + Your Love!
Contents of "Full" + PSD
0 Introduction
1) Open [Love me.unitypackage] and replace the [PON LM] or [Chune LM] material in [Ochanakanashoppu] > [PON chune] > [Love me] with the [tex1] material in the avatar's [Body] mesh.
(2) If you like, put the eye texture of your favorite color in [Love me] > [EyeTexture] in [Ochakana Chomp] > [pon chune] into [Main Color 2nd] from [Advanced Settings] of the liltoon of the material you have just introduced.
If you have purchased the full material, the body texture will be included in the "3rd color".
(3) Insert the mask corresponding to your favorite color in [mask] into the [luminescence setting] of liltoon's [advanced setting].
◎Addition "Pon-Chune compatible version
If you only change the original texture, it will not be reflected on VRC, so you need to check the animation.
1) Open the FX layer of the avatar.
② Select "Kemonized".
3) Click the orange "Humanized" and edit the animation of "avatar name_form_himanized".
*If you have difficulty, please use the second color in the default material.
If you have any doubts, please click on ↓
https://x.com/oshakanakaeru/status/1739990059217293401?s=20
0 please 0
Please be sure to read the Terms of Use in your profile before purchasing.
If you have any questions, please contact us after purchase through an account that shows you purchased the item.